Any existing students added to your account are listed.

Click Enter Student Info for the student.
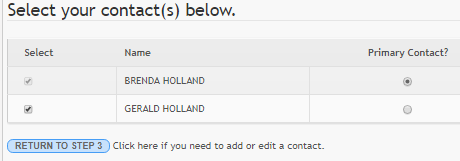
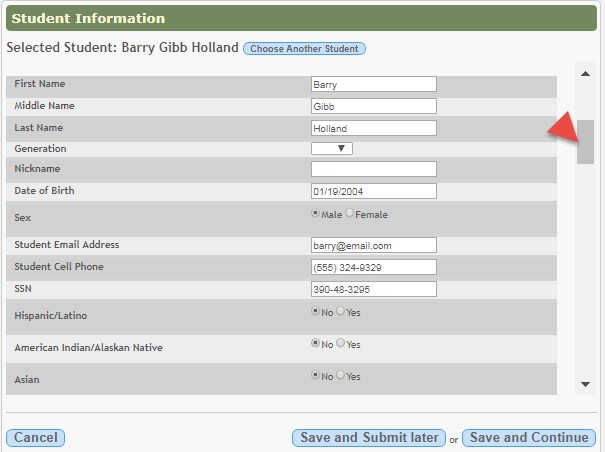
Fields are displayed allowing you to select the student's address and contacts and enter additional information for the selected student.

Attach a document:
If a field contains the Document button, you can click the button to upload a file related to online enrollment, such as a birth certificate, driver license, immunization record, or proof of residency.

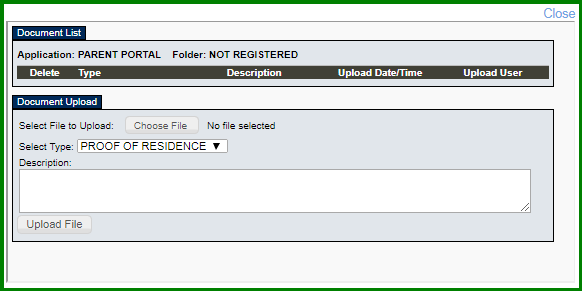
A window opens allowing you select and upload one or more files.

| Document Upload |
Click Choose File. Locate and select the file to be uploaded. |
|---|---|
| Description | Type a description of the file you are uploading. |
Click Upload File.
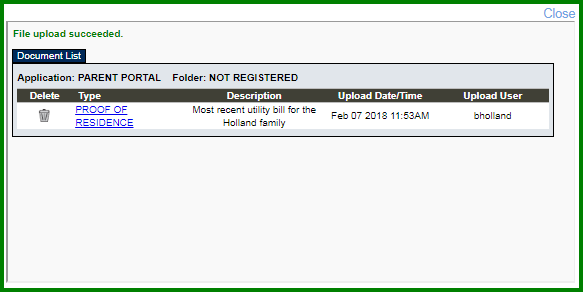
A message is displayed indicating that the file upload was successful, and the details are displayed.

Click Close to close the window.
• If a document has been uploaded for a particular field, the button displays Documents(+) (with a plus sign)  .
.
• If no document has been uploaded for the field, the button displays Documents(-) (with a minus sign)  .
.
View or delete an existing document:
Click Documents(+).
• Click the document to view it.
• Click  next to the document to delete it. You are prompted to confirm that you want to delete the file. Click OK.
Click Save and Continue. The Step 5 - Enrollment Forms page opens.
Or, click Save and Submit later if you have not completed all information and need to continue at a later time. A message is displayed indicating that the data is saved but not submitted for district processing. You can return at a later time to complete the process.


