txConnect > My Account
If you are continuing from the previous step, the My Account page is displayed. Otherwise, log on and select My Account from the menu.
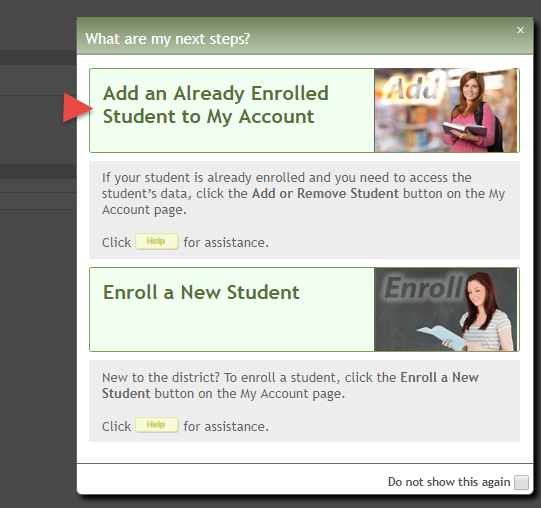
A pop-up message is displayed notifying you of the next steps for enrolling a student or adding a student to your account. You can click the buttons on the pop-up window to go directly to the specific location for completing the steps, or you can follow the steps below.
You can select Do not show this again to disable the pop-up windows.

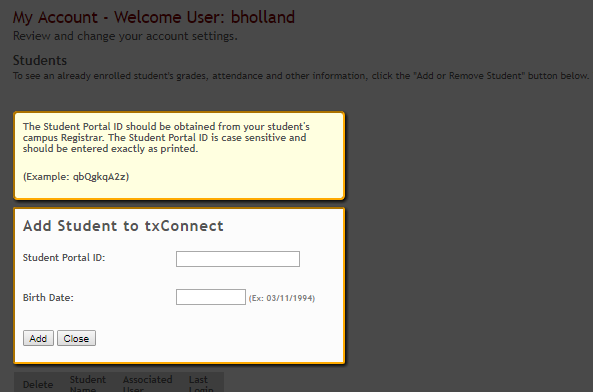
From the My Account page, click Add or Remove Student. (This step is not necessary if you clicked Add an Already Enrolled Student to My Account on the pop-up window.)
Add the following information under Add Student to txConnect.

| Student Portal ID |
Type the ParentPortal ID provided by the student's campus. If you do not have this ID, you must contact the campus to get the ID. You cannot add a student without entering a valid ParentPortal ID. |
|---|---|
| Birth Date | Type the student's complete birth date. The date entered here must match the birth date in the student's record at the campus. You cannot continue without entering the correct birth date. |
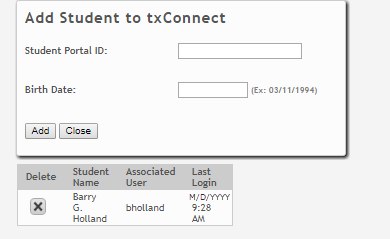
Click Add.
If your student was successfully added to your account, his name will appear on the page. You will now be able to access your student's data.
