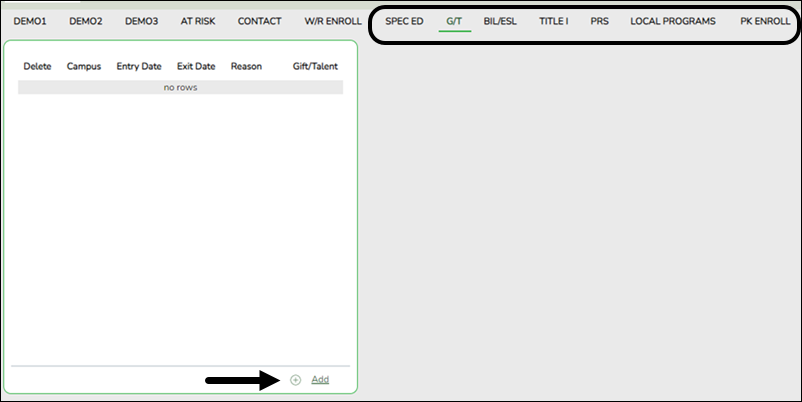
The following steps describe adding a student who has never had a record in the district.
Registration > Maintenance > Student Enrollment

❏ Leave Student and Texas Unique Stu ID blank, and click Retrieve.
Depending on the setting of the Auto Assign Student I field on Registration > Maintenance > District Profile > District Maintenance > Control Info, the following occurs:
• If Auto Assign Student ID is selected, the next state ID is automatically assigned to students. The following pop-up message is displayed:
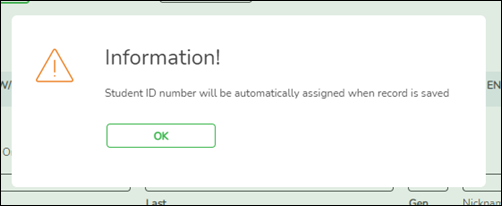
Click OK.
• If Auto Assign Student ID is not selected, you must enter an ID number for the student. The following message is displayed at the bottom of the page:

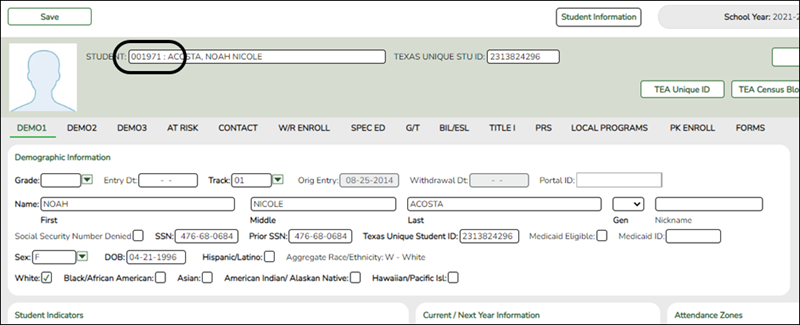
❏ The Demo1 tab opens with blank fields allowing you to enter the student’s full name and all required demographic data for the student.
The Demo1 tab is one of three tabs where you can enter the student's demographic data.
Registration > Maintenance > Student Enrollment > Demo1
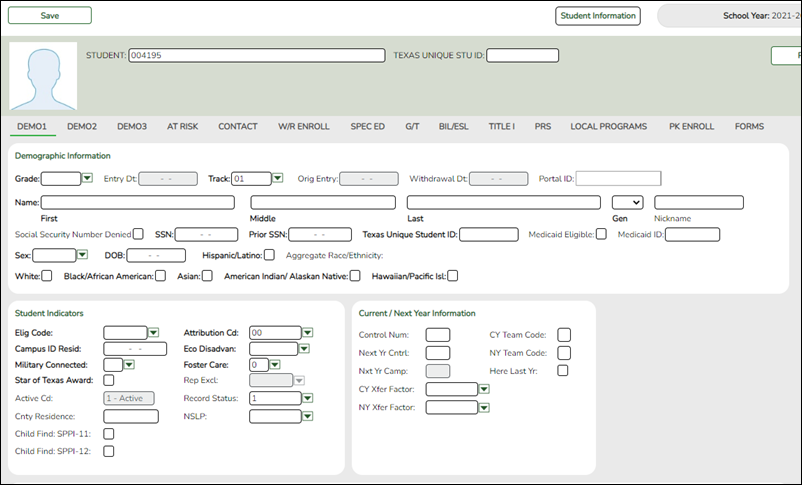
❏ The following fields are required to create a student record; however, the more complete the student’s record, the more useful the data is throughout the Student system.
• Grade
• Entry Dt
• First and Last Name
• Elig Code
• Either SSN or Social Security Num Denied
• Sex
• Date of Birth
• At least one race must be selected.
Other bolded fields are required for PEIMS reporting and should be entered.
See online Help for descriptions of each field.
❏ If a photo exists for the student ID, the student photo is displayed. You can add or change the student photo:
• Hover over the image and click Change.
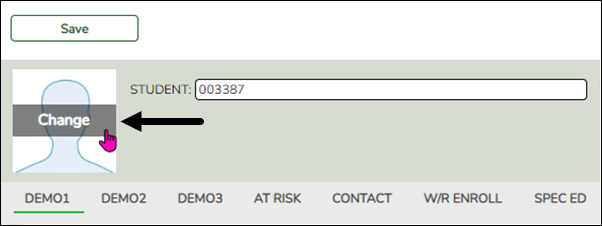
The Change Student Photo window opens.
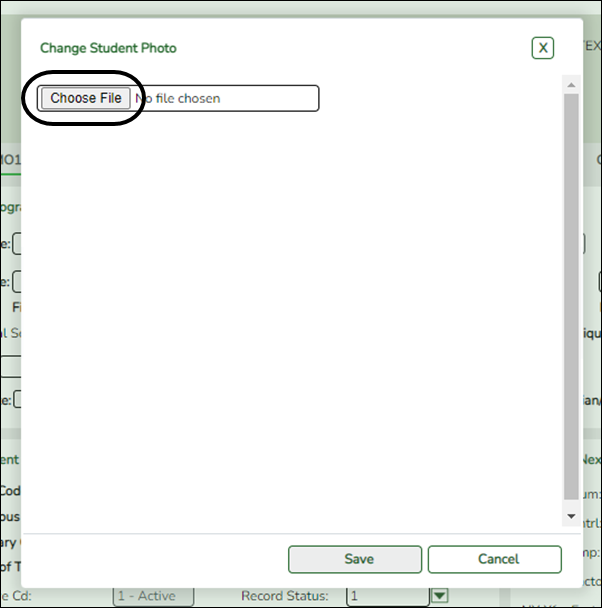
• Click Choose File. Locate and open the file for the new image.
• Click Save to close the window.
❏ Click Save.
When enrolling a new student, you must save the information on the Demo1 tab before continuing. You are not allowed to proceed to any other tabs until the information is saved.
Note: Once data is saved on the Demo1 tab, it is not necessary to click Save on each tab. You can make changes on multiple tabs and then click Save once.
Registration > Maintenance > Student Enrollment > W/R Enroll
Once the record is saved on the Demo1 tab, the student will have an enrollment record on the W/R Enroll tab.

Registration > Maintenance > Student Enrollment > Demo2
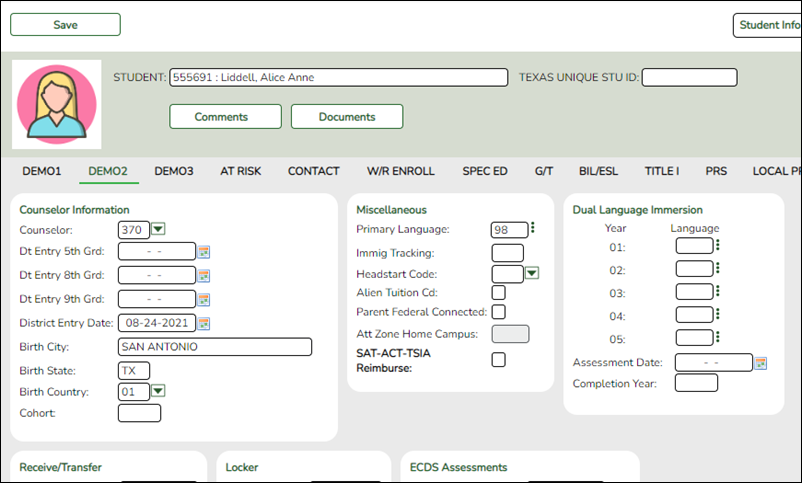
Enter additional data for the student, including counselor, receiving/transfer, locker, and miscellaneous information. Several local use field are available on this tab.
Registration > Maintenance > Student Enrollment > Demo3
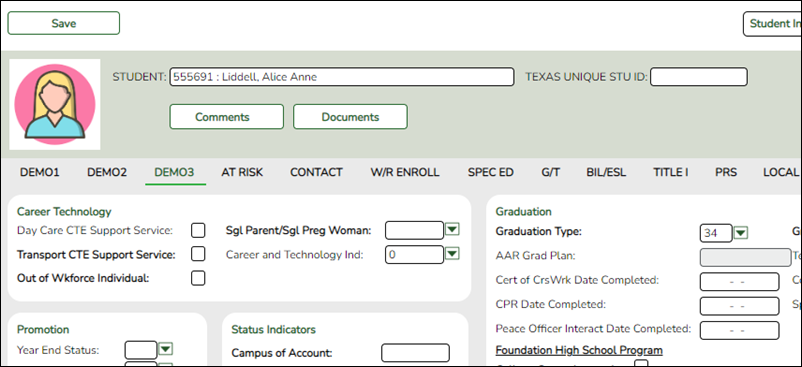
Enter additional data for the student, including CTE data, status indicators, and any available promotion or graduation data.
❏ Click Save.


