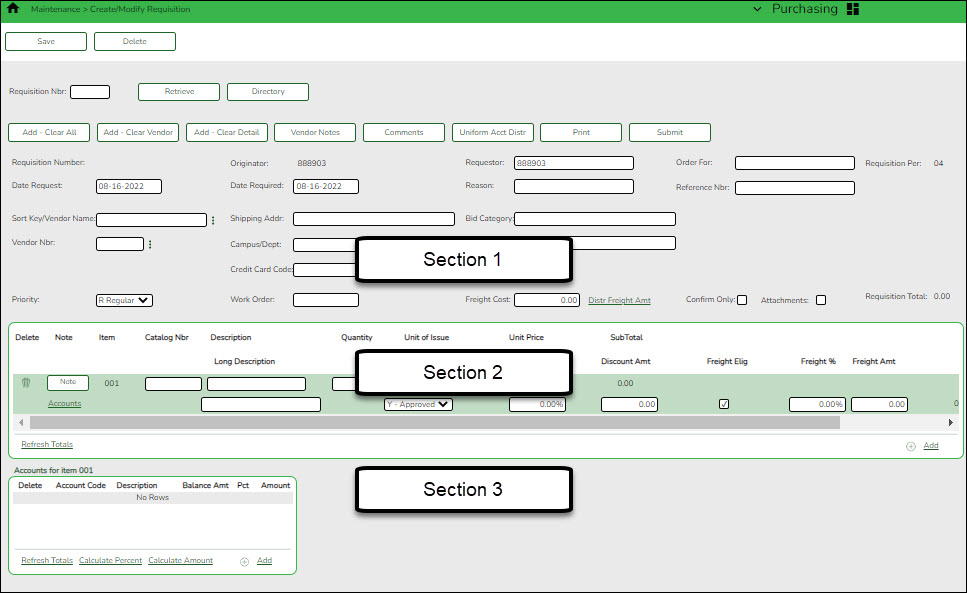
| Field | Description |
| Originator |
The name of the logged-on user is displayed.
|
| Requestor |
Type the name of the person or organization who is requesting the item(s). As you type the data, a drop-down list of corresponding data is displayed. Select the requestor.
|
| Requisition Nbr |
The requisition number is populated when the requisition is saved if the Use Automatic CYR Requisition Number Assignment field is selected on the Finance > Tables > District Finance Options tab. Otherwise, you must enter a six-digit requisition number.
|
| Date Request |
Type the date of the requisition request. By default, the field is set to the current date; however, it can be changed.
|
| Date Required |
Type the date that the requisition is required. By default, the field is set to the current date; however, it can be changed.
|
| Order For |
Type the shipping contact name to be displayed on the purchase order. The field can be a maximum of 30 characters.
If blank, the data from the Requestor field is displayed on the purchase order.
Note: Data from the Order For or Requestor field is only displayed on the purchase order if a Y is entered in the Include Requestor's Name in Shipping Address parameter on the Print Purchase Orders or Reprint Purchase Orders report parameter page.
|
| Requisition Per |
The requisition period for this transaction is displayed. This field is the same as the accounting period and is set to the current or next period on the Finance > Tables > District Finance Options tab.
|
| Shipping Addr |
Type the address where the requisition is to be shipped. The shipping addresses are assigned on the District Administration > User Profiles > Purchasing Addresses tab.
|
| Sort Key/Vendor Name |
Type a valid vendor name, if known. The Vendor Nbr field is populated with the corresponding vendor number.
If the vendor number is not known, click  to select a vendor from the Vendors Directory. to select a vendor from the Vendors Directory.
The Vendor Directory is populated from the vendor records established on the Finance > Maintenance > Vendor Information > Vendor Name/Address tab.
|
| Vendor Nbr |
Populated with the vendor number based on the value entered in the Sort Key/Vendor Name field. Or, type a valid vendor number if known. The Sort Key/Vendor Name field is populated with the corresponding vendor name.
If the vendor number is not known, click  to select a vendor from the Vendors Directory. to select a vendor from the Vendors Directory.
|
| Reason |
Type the reason for submitting the requisition or edit the current reason. The field can be a maximum of 30 characters.
This information is displayed on various reports and on the general ledger.
|
| Priority | Click  to select or change the requisition priority. By default, priority is set to Regular, but it can be changed to Urgent. to select or change the requisition priority. By default, priority is set to Regular, but it can be changed to Urgent. |
| Reference Nbr |
Type the identification number for this requisition. The field can be a maximum of 15 characters.
|
| Work Order | Type a work order number. This field is only for informational purposes. |
| Bid Category |
Type the category code to be used for the requisition. As you type the data, a drop-down list of corresponding data is displayed. Select a bid category code.
Only category codes identified as a bid category on the Finance > Tables > Vendor Categories page and assigned to the selected vendor on the Finance > Maintenance > Vendor Information > Vendor Miscellaneous tab are displayed in the drop-down list.
|
| Bid Nbr | If the bid process was used for this vendor and you are ordering based on a bid, type the bid number; otherwise, leave the field blank. This information is printed on the purchase order. |
| Confirm Only | Select if an order was sent via fax, email, or the Internet, and this purchase order only confirms that the order was already received by the vendor. |
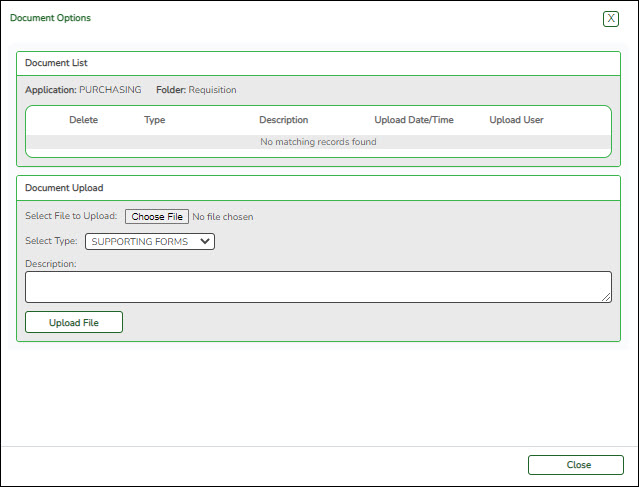
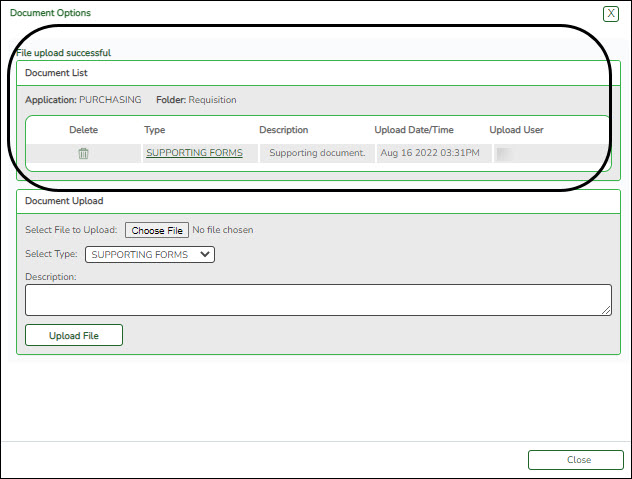
| Attachments | Select if an attachment is included with the purchase order. |
| Freight Cost | Type a cost value, edit the current cost value, or leave the field blank if there are no charges. The freight cost is distributed to all line items when the Freight Elig field is selected. In addition, the Freight % field is populated based on the amount in the Freight Amt field divided by the subtotal of the line item. |
| Distr Freight Amt | Click to distribute the freight cost evenly among all line items in the requisition. |
| Credit Card Code |
Type the credit card code to be used for the requisition. As you type the data, a drop-down list of corresponding data is displayed. Select a credit card code.
Only active credit card codes that are assigned to the requestor on the District Administration > Maintenance > User Profiles > Purchasing Credit Cards tab are displayed in the drop-down list.
After a requisition is submitted, only the originator can update the credit card code. The requisition must be returned to the originator to make any changes.
|
| Campus/Dept |
Type the name of the campus submitting the requisition. This field is also used to direct the requisition to the first approver. As you type the data, a drop-down list of corresponding data is displayed. Select a campus/department.
Notes:
This field is only displayed if the Allow for Approval Process is selected on the District Administration > Options > Purchasing/Warehouse tab.
The Campus/Dept field is optional when the requisition is created and is required when the requisition is submitted.
The Campus/Dept drop-down list includes the campus/department number, campus/department name, and the first approver.
|


Click to add or view requisitions comments. These comments are displayed on the District copy of the purchase order. A Requisition Comments window is displayed. If there is a paper clip icon next to the Comments button, a requisition comment exists. In the Requisition Comments window, type comments about the requisition.
Click OK to save the requisition comment and close the window.
Click Cancel to close the window without saving the comment.