Supervisor Guide: Manage Leave Requests & Set Temporary Approvers
This guide provides a step-by-step process for supervisors managing leave requests in EmployeePortal.
Before You Begin
❏ Review the ASCENDER EmployeePortal Navigation page to familiarize yourself with the portal layout.
❏ Review the Employee Guide: Create Account & Login for information about logging on to EmployeePortal.
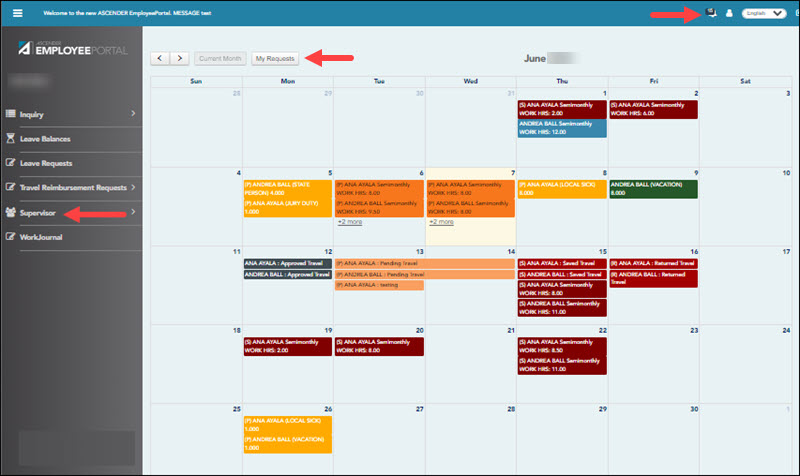
Upon logging on with Supervisor access, the current month's calendar is displayed with the All Requests view, which is the default view for supervisors. The All Requests view displays all request type entries (Leave, Travel, and WorkJournal) from direct report employees and any employees who report to them. To change the view and only display your personal requests, click My Requests. You can toggle between the All Requests and My Request views as needed.
- Click Current Month to view the current month. The Current Month button is only enabled if you are viewing a prior or future month.
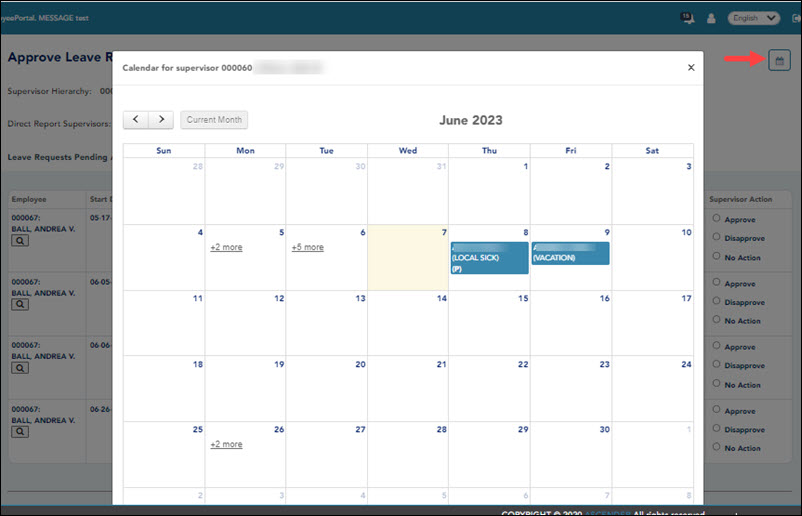
❏ Click an entry from the calendar. The request details are displayed. If there are more entries that fit in the calendar day on the page, a + more link is displayed. Click the link to view the additional entries.
The following colors are used to identify the various request types and statuses.
- Approved Leave Requests - Green
- (P) Pending Leave Requests - Yellow
- (D) Disapproved Leave Requests - Red
- Approved Travel Requests - Gray
- (P) Pending Travel Requests - Orange
- (R) Returned Travel Requests - Red
- (S) Saved Travel Requests - Red
- Approved WorkJournal Requests - Blue
- (P) Pending WorkJournal Requests - Orange
- (S) Saved WorkJournal Requests - Red
You will see an additional Supervisor menu on the left side of the page.
TIP: If you have any new notifications from EmployeePortal, the number of pending notifications is displayed in the top-right corner of the page on ![]() . Click
. Click ![]() to view the Notifications box. You can either click Mark All As Read to mark all notifications as read and clear all notifications or click a notification to open the Notifications page. From the Notifications page, you have the option to Mark All As Read or click
to view the Notifications box. You can either click Mark All As Read to mark all notifications as read and clear all notifications or click a notification to open the Notifications page. From the Notifications page, you have the option to Mark All As Read or click ![]() to clear each individual notification.
to clear each individual notification.
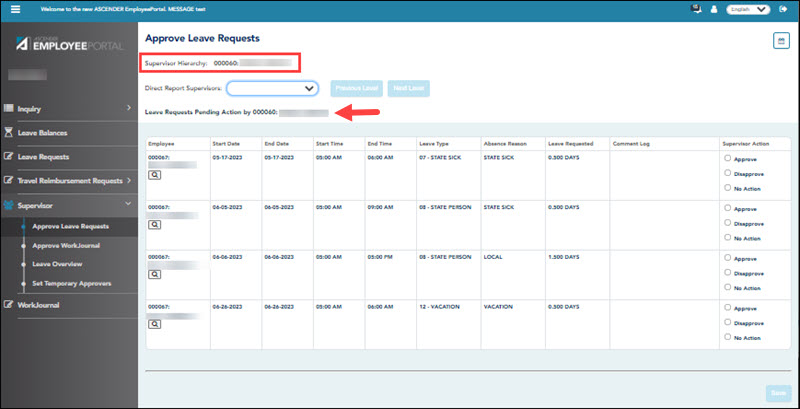
The Supervisor menu allows you to perform the following tasks:
- View pending leave requests.
- View available leave balances for your direct report employees and any employees who report to them.
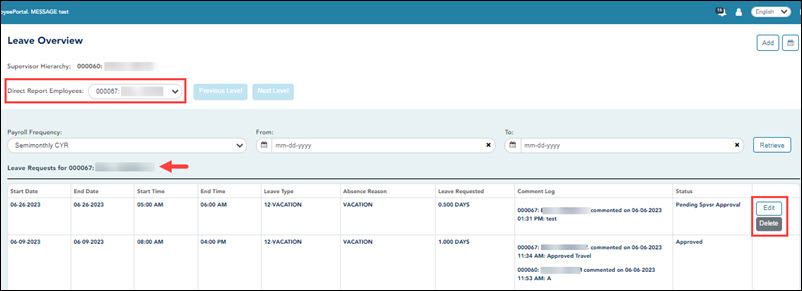
- Approve or disapprove leave requests for your direct report employees and any employees who report to them.
- Submit leave requests for your direct report employees and any employees who report to them.
- Set temporary approvers for yourself, your direct report supervisors, and any supervisors who report to your direct report supervisors.




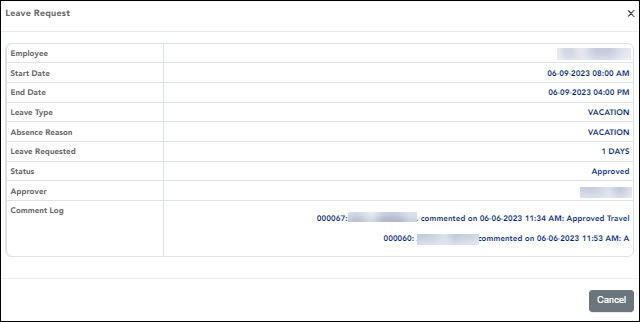


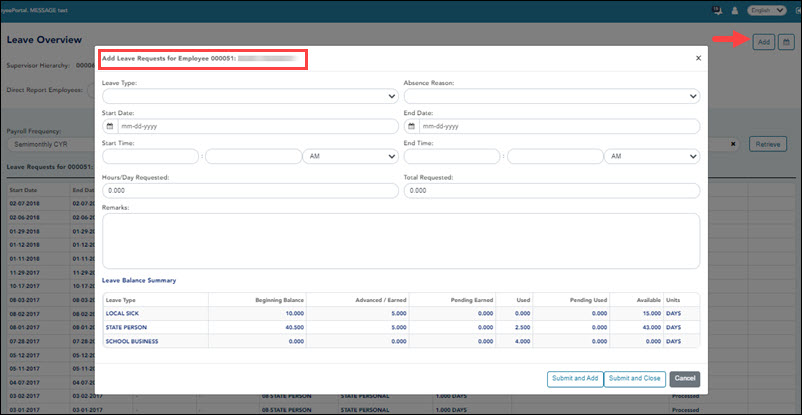


Type any comments related to your leave request. The comments are available to all approvers.