Sidebar
Table of Contents
general:enroll_new_student_step3
Book Creator
Add this page to your book
Add this page to your book
Book Creator
Remove this page from your book
Remove this page from your book
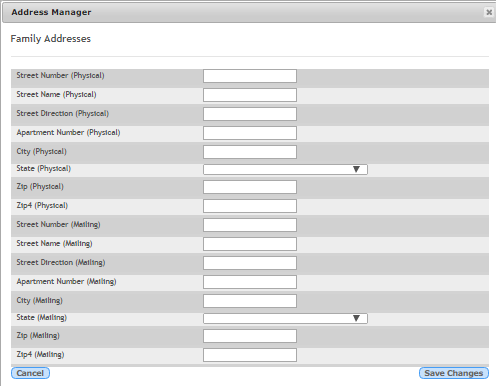
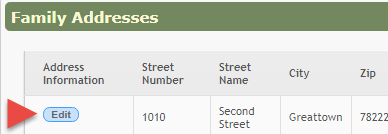
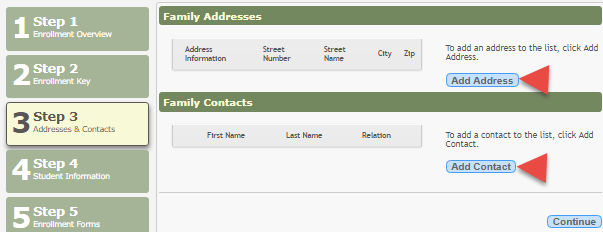
Step 3 allows you to add physical addresses and mailing addresses for the student, family members, and other contacts.
HELPFUL FEATURE: As you initially enter address information (street number, street name, city, state, and zip), it is automatically stored so it can be reused to prefill the fields when you are completing multiple forms that contain address fields.
Once you have entered address data, when you click in a blank field for which data can be prefilled,
a blue box is displayed which contains the most recent address data entered so far. When you click the blue box, the address fields are automatically filled with the stored information.
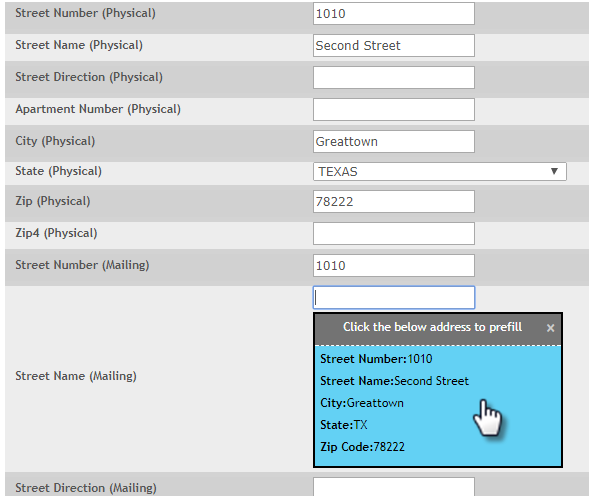
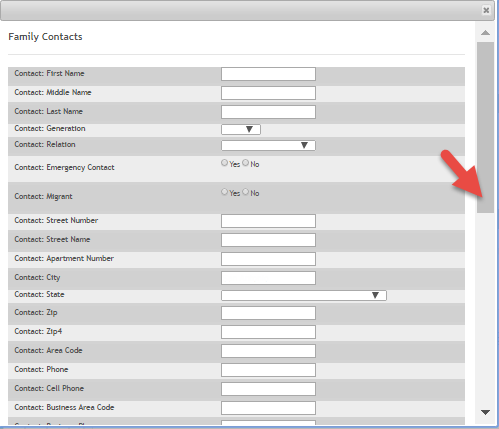
This feature works when adding or editing address data in either the Family Addresses window or the Family Contacts window.
Some fields are required. If you do not enter data in a required field, a message is displayed when you click Save Changes, and you must provide the data to continue.
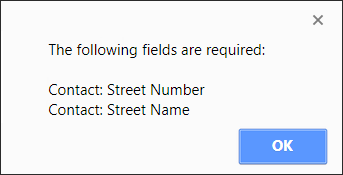
Click OK to close the message, add the required data, and click Save Changes again.

Click Continue. The Step 4 - Student Information page opens.
general/enroll_new_student_step3.txt · Last modified: 2018/02/08 18:52 by jstanford
Except where otherwise noted, content on this wiki is licensed under the following license: CC Attribution-Share Alike 4.0 International
Americans with Disabilities Act (ADA) and Web Accessibility
The Texas Computer Cooperative (TCC) is committed to making its websites accessible to all users. It is TCC policy to ensure that new and updated content complies with Web Content Accessibility Guidelines (WCAG) 2.0 Level AA. We welcome comments and suggestions to improve the accessibility of our websites. If the format of any material on our website interferes with your ability to access the information, use this form to leave a comment about the accessibility of our website.

